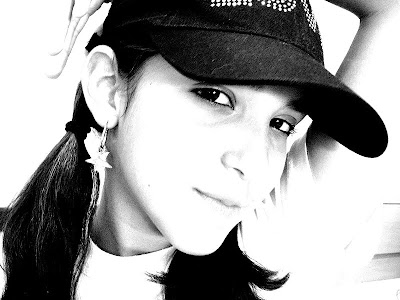
First select an image to work with. The best images for this treatment are ones that fairly contrasty and have simple, easy to recognize, image content like this one:
 Then create the pattern you want to use to halftone the image using a vector illustration application like Adobe Illustrator. For this example I've created a concentric circles graphic.
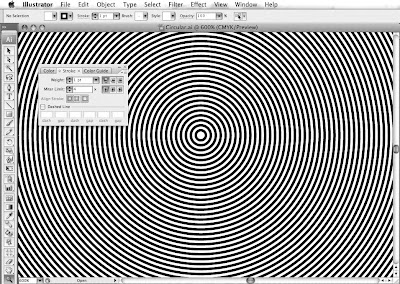 Note that the black and white line thickness of the pattern are about equal. As usual, you will need to experiment to get the right combination of image and pattern resolution to achieve a good effect – there are no rules.
In Photoshop, open the image you want to halftone. Then open the pattern that you've created and copy and paste it into a layer above your image. Make sure the image is in greyscale mode. Create a new layer below the pattern, fill it with white and then merge the pattern with the white layer. At this point you will have two layers; one layer with the original image and above it one layer containing the pattern.
Apply a Gaussian Blur to the pattern. In the below image the original pattern is on the left side and the Gaussian Blur applied pattern is on the right:
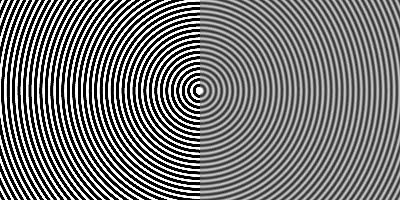 What you are trying to do is maintain the integrity of the pattern while creating a "threshold array" of about 256 levels of grey.
Next, if the pattern needs to align with any image content then position the pattern accordingly. In this case I've centered the circular pattern over the woman's eye. Then set the pattern layer to "Hard Mix" - the result will look something like this:
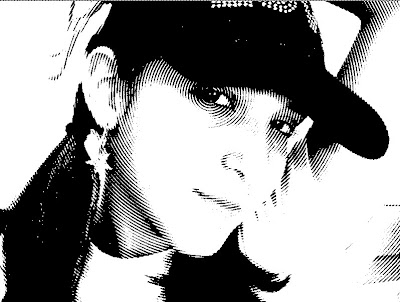
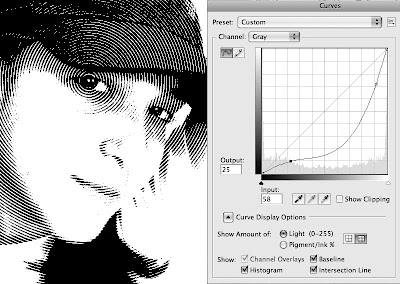
At this stage, if the results are too contrasty or flat, select the image layer and use the "Curves" menu to adjust the original image's contrast to get the effect you like:
Finally, when you are happy with the result, merge the two layers. Then convert the image to "Bitmap Mode" (using "50% Threshold") to make sure there are no grey levels left that might get screened by a RIP. Your result will look somewhat like this:
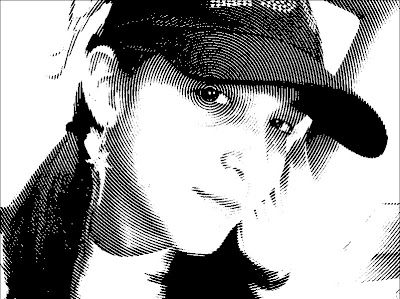 ...and ready to place in a page layout.
You can use any pattern your imagination comes up with.
For example, this one uses wavy lines:
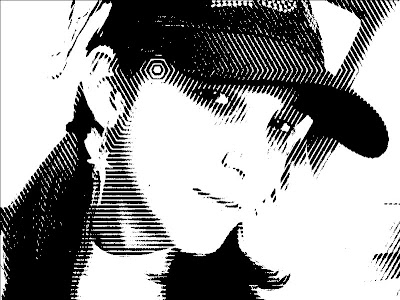
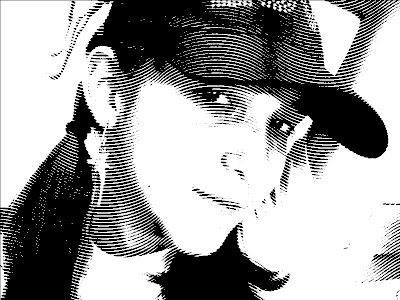 While this one uses a hexagon pattern instead of concentric circles:
Fantastic, But how do you do a 'cross-hatch' screen?
ReplyDelete